


I absolutely love to craft, collaborate and create, especially with my daughter, E. She is a creative little mind who loves to make something new and all her own. This means we make a lot (I mean A LOT) of handmade gifts for holidays. This Valentine’s Day will be no different!
I always aim to make our crafts age-appropriate. What does this mean? Simple. It is a task that she can do on her own with minimal guidance but something that will keep her attention and engage her as well.
For our valentines, I focused on activities to strengthen fine motor skills in her hands, fingers and wrists. These skills are helpful to strengthen a child’s hands to better prepare them for writing and many other tasks.
These craftivities are aimed to be easy for moms; minimal prep, minimal clean up, but still serve a purpose! These activities are about the process and strengthening those little muscles.
Let your child create what they want to create! It does not have to look perfect. It doesn’t even have to look pretty. But it is their personal work so help build their confidence by praising their great work!
Tip: prepare all of your craft supplies while your child is not around. This way, you can get everything set up without them trying to jump the gun on getting started. I set all of this out while E was at preschool and it was waiting for her when she got home.
To get started I gathered a large amount of craft supplies from our craft bench which you can see in the picture below.

Now, I know that foam hearts are not something that everyone has just lying around the house like we do (#teachermom) but I had grabbed these on super clearance last year after Valentine’s Day was over. They are AWESOME because they served so many purposes in our crafting and also we will be able to use them for many years to come because there are seriously SO MANY.
Here’s a closer look…

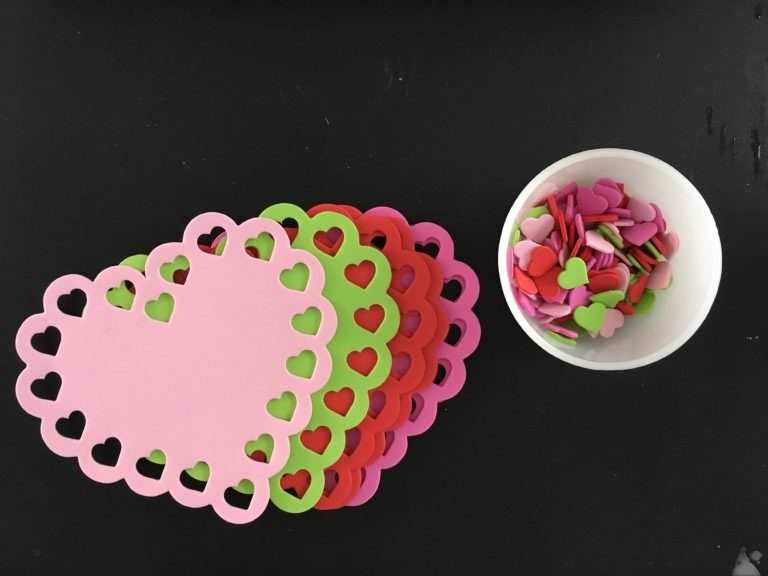 Each of these packs had 70 big hearts for $2.39. And each heart came apart to be way more than just 140 pieces! Such a great deal.
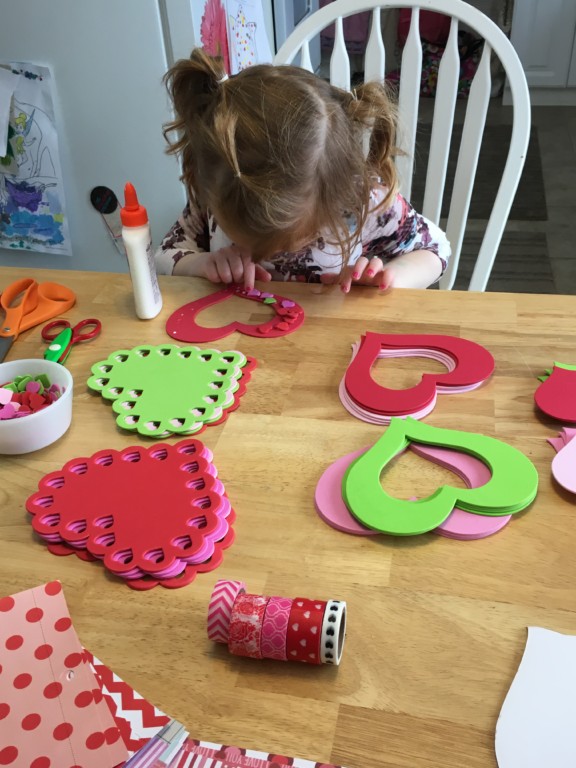
At first, I let E guide our time together. I gave her free reign of the table and she got started right away. She chose the foam hearts first and began gluing the tiny hearts on to a bigger heart frame.
I know glue can be messy, sticky and a total mess! But allowing your little to use a bottle of glue and squeeze it really helps build their finger and hand muscles. So, don’t be afraid to hand over the bottle.
With the finished product you can either leave it as is or you could add a cute photo and make it into a picture frame to deliver to a loved one.

Once E realized I had some different crafts in mind she approached me and asked what she could do next! I love to let their creative minds dictate the crafting session.
This is simple; tear and glue little pieces of scrap paper on to a heart. I chose to use scrapbook paper just to give the craft a little more depth and texture but you could use simple construction paper as well!

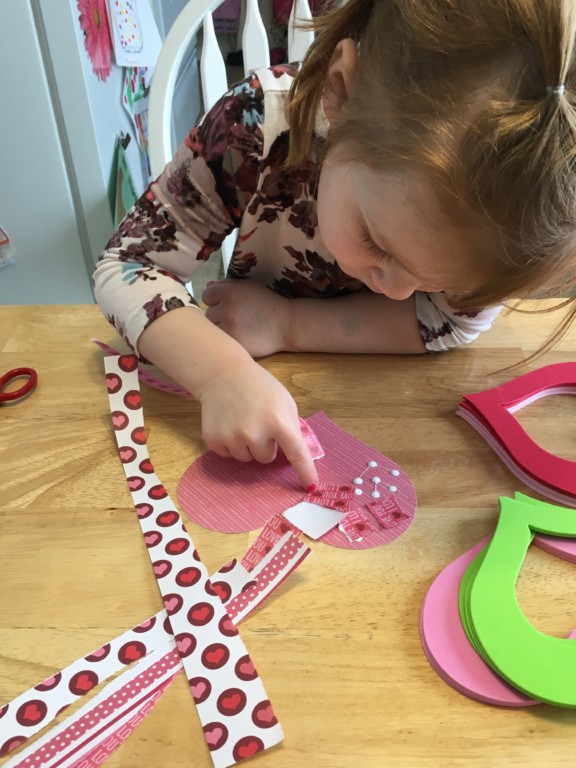
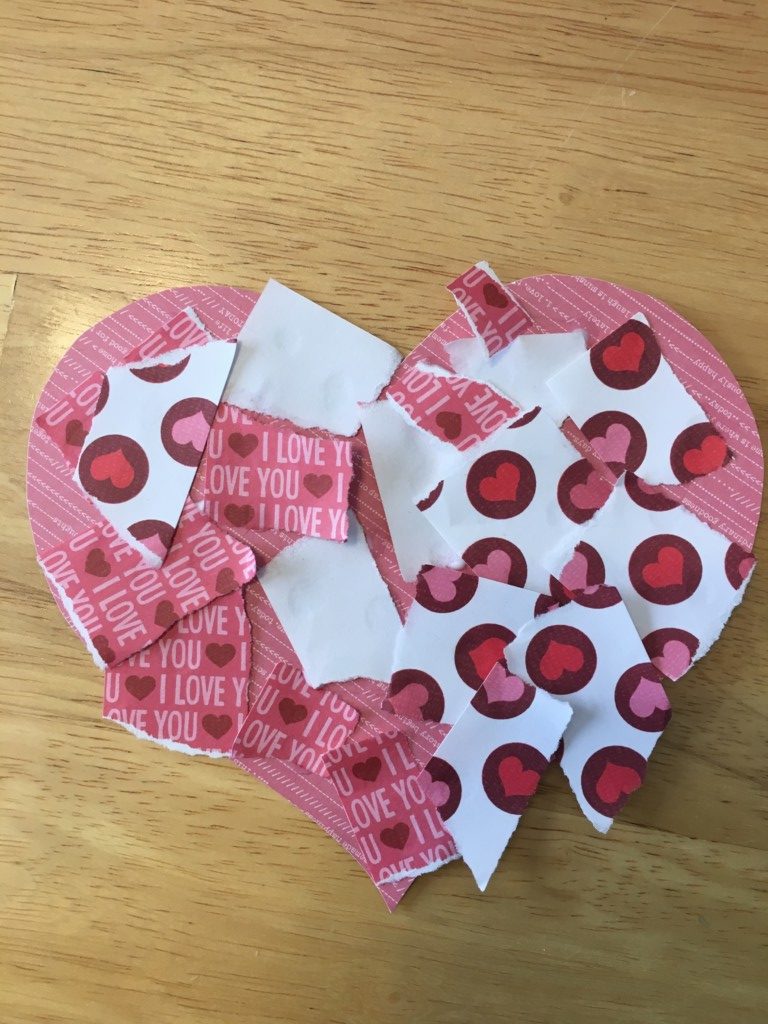
This isn’t always the most polished, Instagram worthy craft but the pinching and pulling the kids do while tearing the paper apart is so great for those little hand and finger muscles!
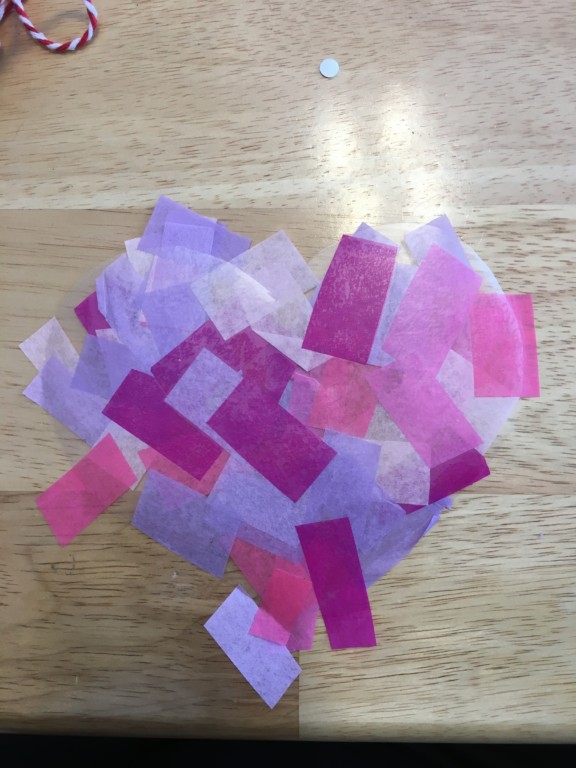
For our next craftivity I cut a heart out of contact paper and cut up pieces of tissue paper. You can use any kind of tissue paper! Even your Christmas tissue paper will work just fine. After you peel off the back of the contact paper allow your little to scatter the tissue paper all over the back of the sticky side of the paper. After they have filled it or just decide that they are done with the craft you can go back and trim the edges to sharpen the heart shape.


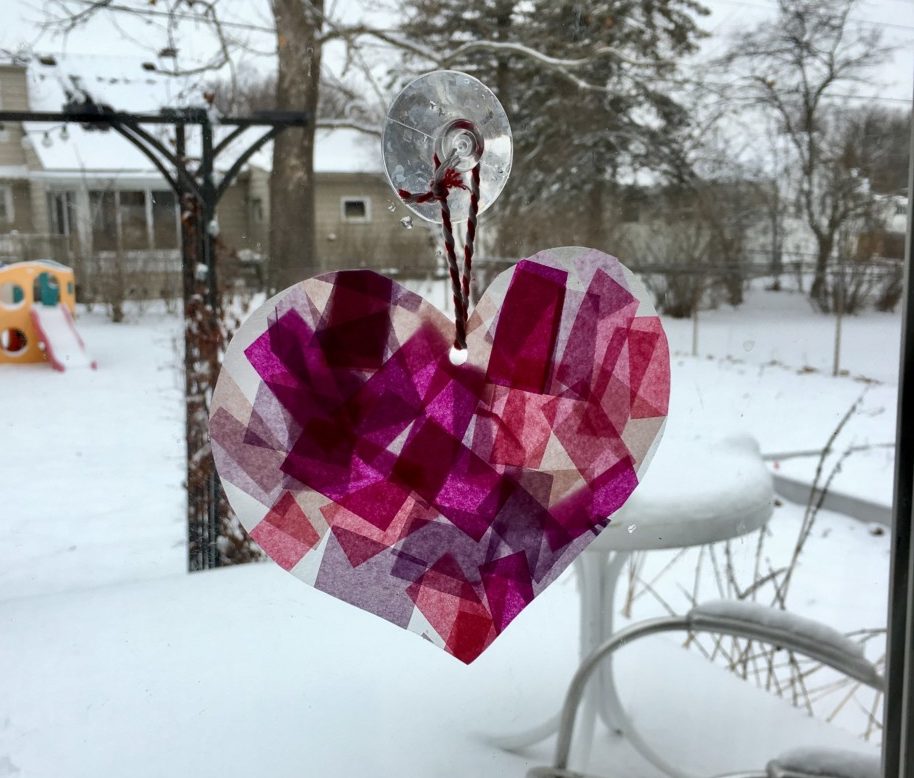 Once you are done trimming the sides, punch a hole in the top of the heart, add a string and you have a pretty little sun catcher!
For our last activity we used one of our many foam hearts but you can use construction paper, scrapbook paper or card stock instead. Whatever you have around the house!
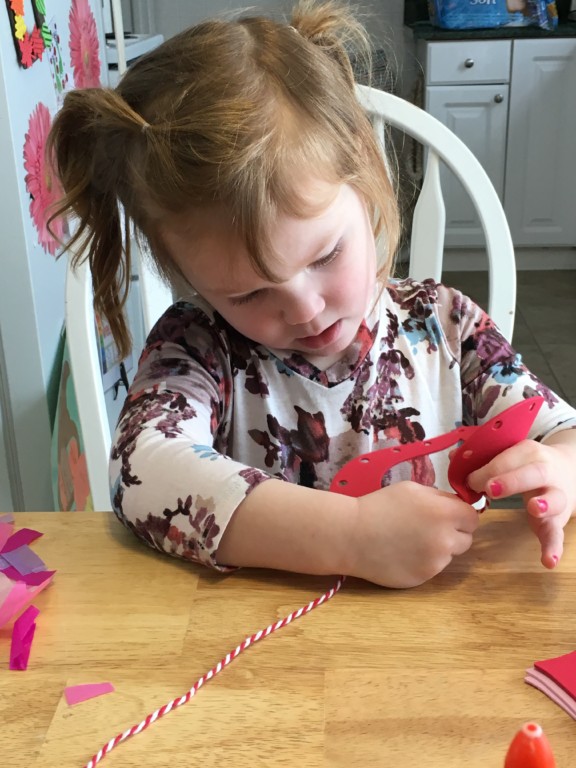
First you need to take your hole punch and punch holes evenly around the perimeter of the heart. Once that is finished lace your string through one of the holes to prepare it for the child. After that, it’s up to them! Remember: the RIGHT way to do this is however the child chooses to! It is their art, allow them to complete it as they wish. Just be there as a helping hand in case the kids have trouble. If they kids have never done this before on their own do a couple of holes as examples and then give them a try. This can be really tricky for teeny hands so really encourage your little through this activity.

Tip: make sure to pull the string all the way through the hole each time or the string will get too short and tangled up.
After we finished all of my planned craftivities I gave E full access to everything on the table. This is my favorite part! She crafted for 45 more minutes. Yes, that is correct; 45 MINUTES! Heavenly. And this is what she came up with…

Let your littles create! You never know where their imaginations will take them.
How do you let your littles create?


