


I am not suggesting that you forego a professional photo shoot for your newborn. However, many of us have decent cameras or smartphones readily available. They only stay little for so long, so you’ll probably be photographing your baby more often than not.
Here are some tips to get you started: including manual setting examples for those making the leap from “Auto”:
Wait for baby to fall asleep
Newborns spend the majority of their day sleeping, so take advantage. You’ve probably noticed that they cycle through emotions in their sleep. Have your camera ready to snap at that perfect “smiling” moment!

Use a pacifier
If your baby is calmed by pacifiers, try using one up until you’re ready to snap the photo. First be sure baby’s in position, then quickly remove the paci. You’ll probably get a few funny-looking-mouth shots before the keeper, but it’s totally worth it.
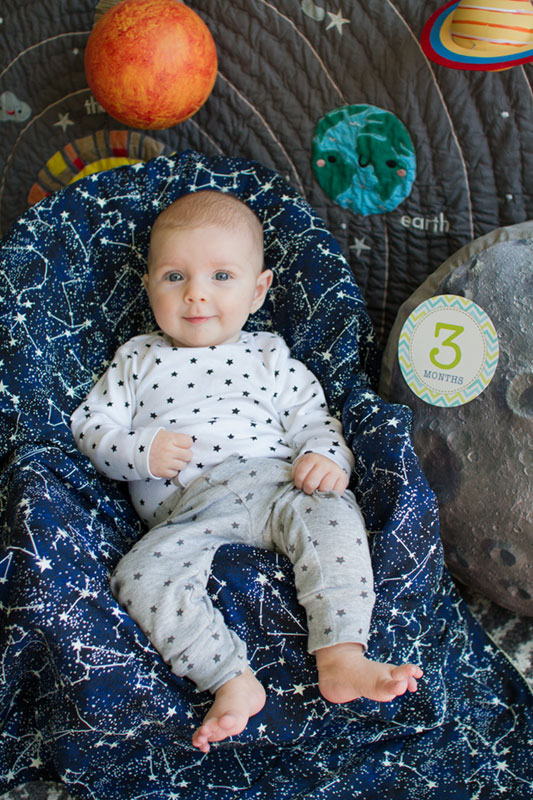
Cover posing aids with a blanket
We got a lot of baby blankets as gifts for our daughter. They’re so cute, and I feel guilty hiding them in the closet, as they can’t be in her crib. Then I discovered that they make perfect backdrops for different photoshoots — and help disguise pillows, Boppys, Bumbos, portable high chairs, or any other posing aids you might use to prop your newborn up-right!
Put month stickers on a prop
I’m not sure how anyone photographs babies with those cute monthly age stickers on their shirt. My kid immediately tugs it right off! If you’re having the same issue, but really want to use the sticker, simply place it on one of your props – or the background.
Use a high enough ISO for a fast shutter speed
This tip is for photographers who are using a camera with manual settings. The ISO setting refers to how sensitive the camera’s sensor is to light. The trade-off is that your images will be grainier the higher the ISO setting. However, you need to use an ISO that is high enough to allow you to use a shutter speed fast enough to prevent blur (from camera shake – or a squirmy baby!). The general rule for camera shake is 1 over the lens length – 1/50th of a second for a 50mm prime lens, for example. I would at least double that (1/100) to account for baby’s movements.
Seek out natural light
If you’re the fully-auto type (I’m looking at you iPhone photographers!), I may have lost you on that last tip. All you really need to know is that the more light, the easier it will be to get a sharp image. Use a room with great window light, or if the Michigan weather is cooperating, head outside. Just be sure you’re not in direct sunlight (shade works great), or else your baby’s eyes will be shadowed.
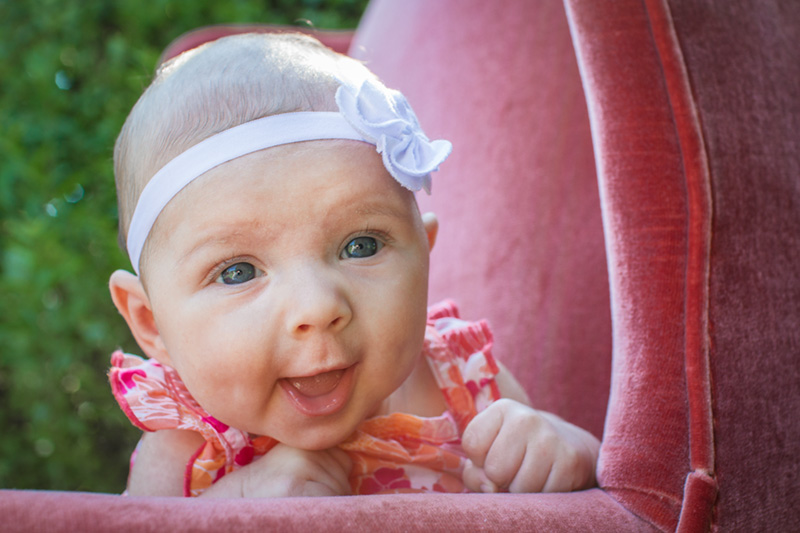
Switch to Tummy Time
Make funny faces. Sing your child’s favorite songs. Still, sometimes baby won’t smile because of the awkwardness of being propped up. I found that simply flipping my daughter on to her tummy would (usually) provoke a playful expression!
Try again later
If your baby starts full-on crying, take a break. Leave your background/props in place, and try again after a meal and/or nap. Repeat as many times as necessary to get that ideal expression. I recommend reviewing your images in between sessions, because it can be so stressful in the moment that you don’t realize you already have some good shots!
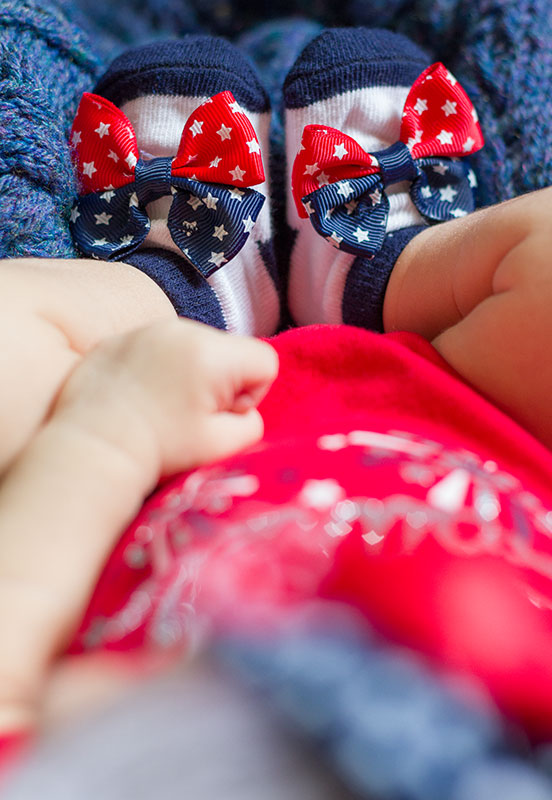
Get in close
Those little hands and feet will never look so adorably tiny again. So be sure to get a handful of detail shots – they work great in collages.
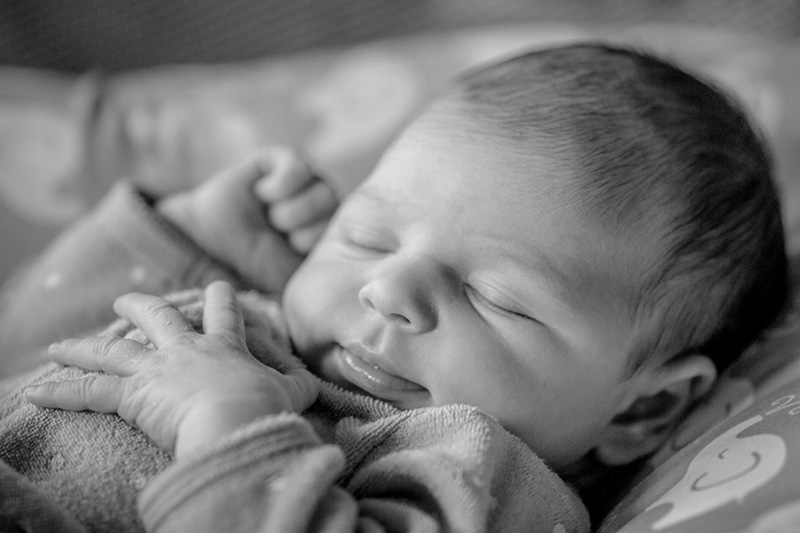
Convert to black-and-white
Sometimes color distracts from the essence of an image. Conversely, black-and-white emphasizes shape and texture, and just feels timeless. But please, please do not use selective color. Coloring a single part of an image is just tacky!
Lastly, remember to make archival prints. No matter how great your images turn out, no matter how many back-up methods you use, future generations may not be able to read your digital file format.
I hope you have fun filling up your baby photo albums!


It’s got to be easy to be passionate about photography when you have such a precious subject, am I right? 😉