


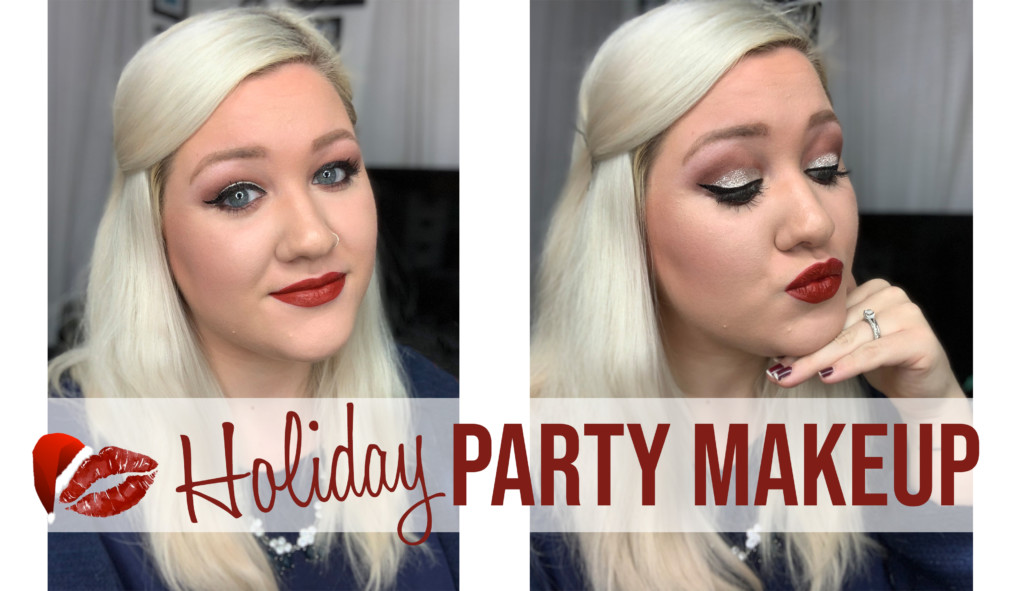
Welcome to your very own step by step guide to creating a fabulous makeup look for that special holiday party or get together you’re going to this year.
As a disclaimer, feel no obligation to go and purchase the products I’ve used. In fact, I encourage you to use products you already have at home, if you can! Remember: makeup almost always looks bad until it’s finished, you can never blend too much, and practice makes perfect. Now, let’s get started!
Products Used

- Karity Nudes and Rudes palette
- Morphe Brushes: M433, M519, B42 {which is no longer available – I would recommend M431 as a substitute}, M432
- Concealer Brush – one I’ve had in my collection, but the label has worn off and I can’t remember where I got it.
- NYX Glitter Primer
- NYX Glitter in Silver
- NYX Vinyl Liquid Liner in Black
- Wet N Wild On Edge Longwearing Eye Pencil
- Mary Kay Ultimate Mascara
- Mary Kay CC Cream in Light to Medium
- Mary Kay Mineral Powder in Ivory 2
- Mary Kay Undereye Corrector
- Mary Kay Concealer in Deep Ivory
- L’Oreal True Match Blush in Spiced Plum
- Benefit Hula Bronzer
- IBY Beauty Radiant Glow Highlighter 24K Magic
- SeneGence LipSense in Mulled Wine
- SeneGence LipSense in Fly Girl
- SeneGence Gloss in Matte
Step One


In order to better help with possible fallout from the shadows and glitter, avoid doing your face makeup until your eye makeup is nearly finished. Using a fluffy blending brush {Morphe M433}, take a mousy brown, matte color {Smooth in the Nudes and Rudes palette by Karity} and blend it into and up above your crease almost to your brow bone, but leaving room for a little highlight. The fluffier the brush the better the blend and the more diffused a color will look.
Step Two


Using a crease brush {Morphe M519}, take a muted red, matte color {Nell in the same Karity palette} and blend it into your crease and into the previous color, Smooth. This crease brush gives a more concentrated color than the fluffy blending brush but still makes it easy to blend the color.
Step Three


Using a bulleted crease/pencil brush {Morphe B42}, take a dark, warm brown, matte color {Lilo} and place it in your crease, blending it into Nell with the crease brush from Step Two. The denser a brush is, the more pigmented the color will be. This bulleted crease/pencil brush is denser than the crease brush and it makes the color more concentrated and able to be more easily confined to specific areas.
Step Four


This step is kind of a two in one. The first part is to take a concealer brush and carefully cover your lid. This will “cut” your crease and create an obvious contrast between the shadow you’ve created in your crease and your lid. You want the contrast to be as concisely defined as you can make it with as little blending or crossover as possible. Carefully cover the concealer with a shimmery, pale, yellow color {Glimmer} by gently pressing the color onto your lid using the same concealer brush.
Step Five


It’s not a party unless you bring glitter! You can use any color glitter your heart desires. I chose silver for this look as it gives it a more versatile feel for both Christmas and New Years. There are a lot of glitter options out on the market from actual powdered eyeshadows in palettes, glitter creams or gels to straight up cosmetic glitter {make sure it’s cosmetic glitter and intended for your skin – craft glitter isn’t the same!}. Personally, I don’t use glitter in my day to day looks that much and I realized I don’t have a lot of glitter options so even though I used a loose cosmetic glitter for this look, I wouldn’t necessarily recommend it as it’s more challenging to work with. Your choice might be different based on your cosmetic arsenal and preferences. Using the concealer brush, pat a glitter primer, which you will definitely need with a loose glitter, onto your lid. Very, very carefully and gently press small, controlled amounts of glitter into the primer on your lid until your entire lid is covered. Wipe away any loose glitter. You may need to go back in and redefine your crease with Lilo using the liner brush in Step Six.
Step Five
Using a black liquid liner, line your upper lash line with a wing. Before you move onto the next step, clean up any fallout and do your face makeup. The full list of products I used to complete this makeup look is at the beginning of this post.
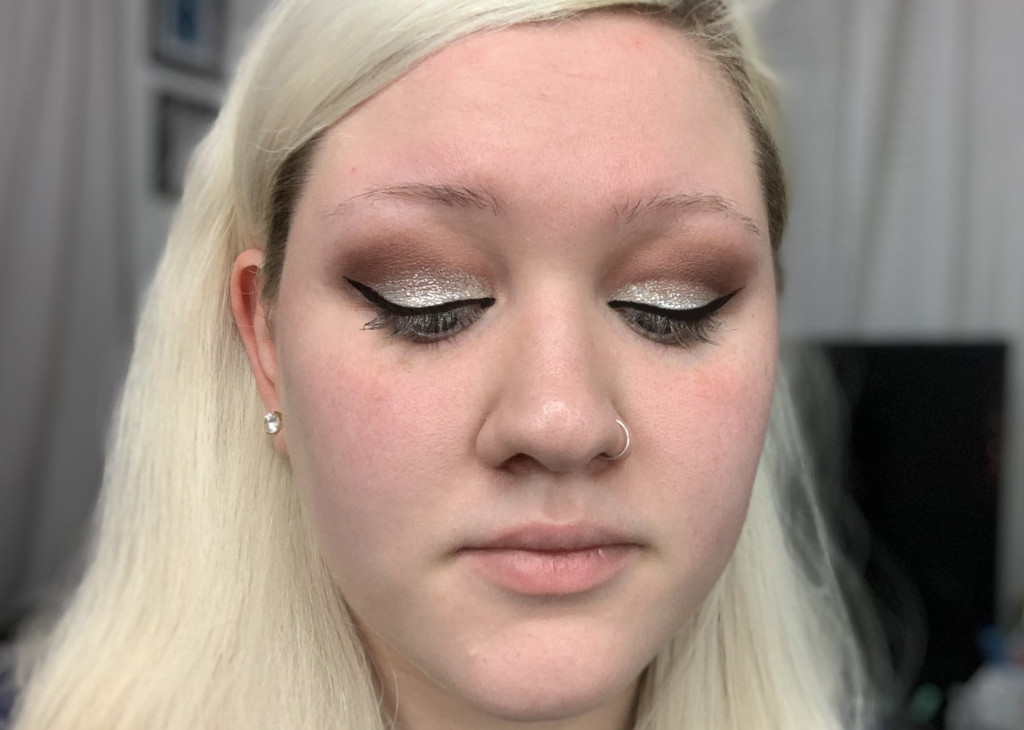
Step Six


The last step for your eyes is taking care of your bottom lash line. Line your waterline with a black pencil and then using a liner brush {Morphe M432} take Lilo and line your bottom lash line. Buff and blend Lilo using the bulleted crease/pencil brush from Step Three. Take a light champagne shimmer color {Siren} and highlight your brow bone with your pinky finger. Lastly, top with mascara and some falsies. {I mean, you’ve got glitter on, why not go the full nine yards and put on the false lashes? Forgive me for skipping them as I went to work after this and in case you’re wondering … yes, I was late. Haha!}
Step Seven


Finish the look with your favorite matte, red lip and you’re done! For my lip, I did one layer of Mulled Wine first and two layers of Fly Girl on top with a matte gloss. As you can see, I make oodles of time to play in makeup, but my nails are always a second thought. 😉
If you try this look, I would love to see it! Feel free to tag me on social media. If you’d like to see more beauty content and tutorials you can check out my YouTube Channel, Modern Beauty, and subscribe to join the #ModSquad.
 Can’t Get Enough")


